 Andrew Betts


For most of the life of this website, I’ve been using Wordpress and running it on a DigitalOcean virtual machine, but in my career (particularly at the Financial Times and Fastly) I have often found myself advocating other ways of doing digital publishing. In 2025, the variety of tools and services is mind blowing, and the trade offs are not always clear cut, but for a personal blog, a static site generator is usually going to be the best choice.
I decided to migrate to Astro, hosted on Netlify, fronted by Fastly, supported by Val Town and Home Assistant.
Here’s why I chose that and how it works.
What I want
Every digital publishing operation, however big or small, has the same few essential elements: content management (how do you write and organise the content), publishing (how does the content become web pages), infrastructure (how do those web pages get to the end user?).
Here’s what I think I need:
- Write content in Markdown
- Optimise images automatically
- Organise in a file tree, versioned using git, stored in GitHub
- Publish automatically on push to repo
- Fast server side / network performance, including HTTP/3 and ideal caching
- Minimal client side rendering / JavaScript
- Support for a few dynamic bits like my current location
- No servers to maintain (I want to stop paying DigitalOcean $12 a month)
- Effortless TLS (I don’t want to have to manage certs or interact with Letsencrypt)
Markdown, MDX, JSX, reMark? Astro figures it out
Right off the mark I really like how Astro supports lots of content formats. I can write posts in Markdown or MDX, static pages using a really well considered .astro format which blends build-time JavaScript with JSX-like templating, and API endpoints (like the RSS feed) in pure JavaScipt/TypeScript.
Frontmatter
“Front matter” describes the metadata that often appears at the top of a markdown document. It was popularised by the Jekyll static site generator, and is typically written in YAML. My Astro blog posts have frontmatter that looks like this:
---
title: Goodbye Wordpress, hello Astro!
pubDate: 2025-02-27
description: I have been making this corner of the web my home since 2002, and for most of that time, Wordpress has been the engine powering the site.  It's time for a major change - here's why I'm moving to Astro.
author: Andrew Betts
tags: ["Web", "Astro", "Fastly", "Netlify", "JSX", "Leaflet"]
status: draft
---
One of these is defined and used by Astro itself, the layout property. The rest is just whatever I decide I want in the metadata of my posts. Astro uses the value of the layout property to load a .astro layout file and put the rendered markdown into the <slot> in the layout.
Layout inheritance and templating
When Astro renders a markdown post using a layout, it exposes the post’s content and frontmatter metadata to the layout in a way very similar to what you’d expect of a React component.
---
import IconList from "../components/label/IconList.astro";
import BaseLayout from "./BaseLayout.astro";

const { frontmatter } = Astro.props;
---

<style>
   .label.label-post { /* Post specific CSS */ }
</style>

<BaseLayout pageTitle={frontmatter.title}>
    <section class="label label-post">
        <div class="post-title padded">
            <h2>{frontmatter.title}</h2>
        </div>
        <div class="post-standfirst padded">
            <p>{frontmatter.description}</p>
        </div>
        <div class="divider"></div>
        <div class="label post-meta">
            <IconList items={["linkedin", "bluesky", "instagram", "reddit"]} />
        </div>
        <div class="post-body rich-text padded">
            <slot />
        </div>
    </section>
</BaseLayout>
There’s a lot going on there:
-
const { frontmatter } = Astro.props;
The post’s frontmatter is provided to the layout much like props are passed to a component in React or similar front-end frameworks. You can then use these data in the source of the template - I’ve used{frontmatter.title}for example, because I already destructued and assigned the prop, but the full imported value would beAstro.props.frontmatter.title. -
<slot />
The layout is acting as a block component, so the markdown post’s body content becomes the child content of the component whereever the<slot>appears in the layout’s source. -
<IconList>
Layouts (and anything that’s a .astro file - the format can also be used for pages and components) can import a component, much like React does. Components have props and can have children, much like layouts (and um yes React components) - but unlike React, Astro components are fully rendered at build time - not in the browser. -
<BaseLayout>
Layouts can nest inside other layouts - so in my case I have aPostLayoutwhich is providing content for theBaseLayout. Since the layout is an Astro component, we reference the parent layout by wrapping the content in its block tag i.e.<BaseLayout>...</BaseLayout>instead of using the frontmatterlayout:property like we do in Markdown. This also allows props to be passed up to the parent layout, in this casepageTitle. -
<style>
Any CSS imported into or included inline in .astro files (maybe also .mdx?) is automatically scoped to that file’s content.
This all makes layouts and components in Astro a pretty powerful and convenient mechanism for composing web pages.
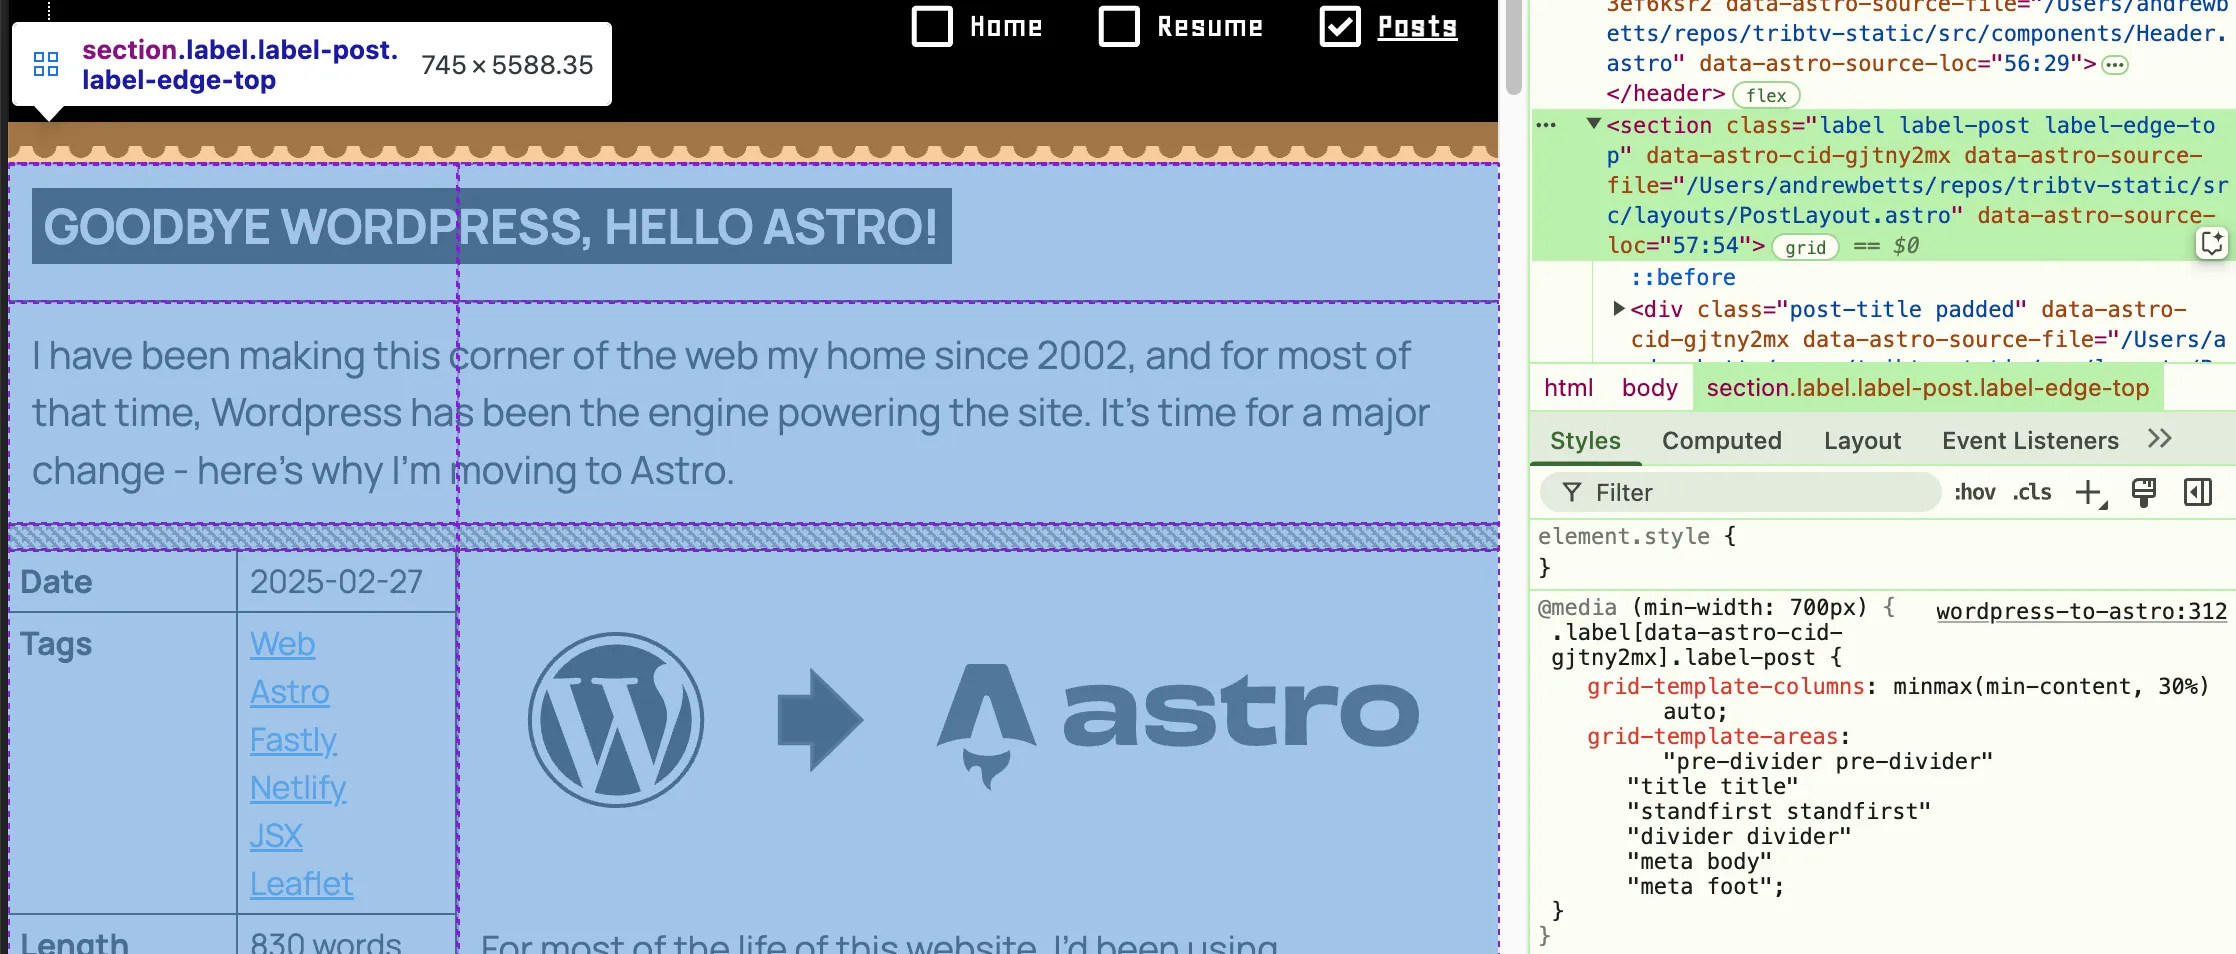
”Magic” CSS
I am suspicious of magic things in general, because when they go wrong I don’t know how to fix them. Magic as a euphemism for “not explained and not documented very well” is not actually a good thing. But as it happens Astro does seem to figure out CSS pretty amazingly well. My PostLayout’s inline CSS turns into this in the browser:
This means that the .label-post styles I apply in this layout only apply to elements that are also generated from that layout. This is actually even more helpful for components (that aren’t layouts). For example, I have a tiny component called TickBoxItem which aligns an SVG tickbox with a text label, and is often used with lots of instances on the same page:

This component has a simple style tag:
<style>
  div { /* ... */ }
</style>
<div><CheckBox stroke="currentColor" fill="currentColor" /><span><slot /></span></div>
The div style definitions here not only will not affect all the other random <div> elements that will be all over my page, but will actually only affect this instance of the component.
Using reMark and MDX
So, you write markdown, and then Astro renders it to HTML, and then it hands the result to a layout component to populate into a larger HTML template. Great. But Markdown is kinda limited, and it’s good to be able to expand it a bit - for example that box in the previous section about “one sad consequence” isn’t normal markdown, it’s an <aside> element.
To do this kind of thing we can either use reMark, which mutates the syntax tree that the markdown processor produces, or MDX, which allows Astro (or React, Svelte, whatever) components to be imported and used inside of Markdown. There are a few interesting pros and cons. For example, reMark generally means subtler syntax. The asides (like the one above) look like this in markdown:
> **INFO:** One sad consequence of the way Astro builds...For my YouTube component, it also makes sense to use reMark, which allows me to write this:
Here's a video you should take a look at:

https://www.youtube.com/watch?v=azwL5eoE5aI

Moving on, here's another paragraph of text and so on...
Astro then converts that into an inline YouTube player automatically. It does that by selecting “paragraph” nodes that contain a single “link” node, checking whether the link matches a pattern, and if so rewriting the paragraph node into an IFRAME element using YouTube’s embedded player syntax. If I were to do that using MDX, I’d need to do something like this in my post:
Here's a video you should take a look at:

import YouTubeEmbed from "../../../components/youtube.astro"
<YouTubeEmbed videoId="azwL5eoE5aI" />

Moving on, here's another paragraph of text and so on...
Not terrible, argably more explicit in intent, but not ideal - I have to figure out the path to the component, make sure I reference the component name consistently, etc.
Another advantage of reMark is that markdown syntax inside the modified element is still processed, which is super handy for my figure component. I can write this in markdown:
Take a look at this graph:
:::figure

DCMS overview of the *press* market ([Mediatique, _2018_](https://assets.publishing.service.gov.uk/government/uploads/system/uploads/attachment_data/file/720400/180621_Mediatique_-_Overview_of_recent_dynamics_in_the_UK_press_market_-_Report_for_DCMS.pdf))
:::In my reMark plugin I can convert that :::figure syntax into a <figure> HTML element, but I can leave the child nodes alone, so I still get the bold, italic and link markup in the markdown correctly converted into HTML within the figure’s caption. If I had used MDX, then as soon as I open an HTML element, the markdown processing would stop.
I really like using reMark, and finding good ways to progressively enhance my markdown. The one case where I found myself creating a component and turning my page into MDX so that I could import the component into it, was an image gallery, and that is mainly because the image gallery requires quite a bit of component specific CSS and JavaScript. Making this a component means I can scope the CSS and JS to the component and have it included only when that component is used.
Images
Images are one thing I’m not sure Astro gets right yet. Using an image in a page (unless it’s markdown) requires importing the image and then using the imported handle:
import { Image } from 'astro:assets';
import localBirdImage from '../../images/subfolder/localBirdImage.png';
---
<Image src={localBirdImage} alt="A bird sitting on a nest of eggs." />
I really don’t like this. I even more don’t like that if write pages/posts that have unique content images that only appear in that one page (pretty common), I can’t put those images alongside the page file in the same folder, otherwise I get errors like this:
22:55:01 [WARN] Unsupported file type /Users/andrewbetts/repos/tribtv-static/src/pages/posts/2014/image5.avif found. Prefix filename with an underscore (`_`) to ignore.This is because any files you put under the /src/pages root folder are deemed to be pages and Astro tries to render them. Putting the images there does actually work, in that they are imported and displayed in the page, but Astro is clearly mad at me for doing it.
As a compromise, I decided to create a reMark plugin to rewrite image paths. I can now do this when I’m writing a post in /src/pages/posts/2025/post-title.md:
Astro will then load that image from /src/assets/images/post-images/post-title/post-photo1.jpg, without my having to hard code the relative path between those two locations into every blog post I write. Hooray!
Build-time JavaScript
Astro encourages you to write build-time JavaScript, and it’s quite cool. For example, you can create a dynamic route page such as /src/pages/topics/[tag].astro, which looks a bit like the routing you might encounter in a front end (maybe SSRed) framework like Next.js, Remix or Svelte. But in Astro, all possible variants of this page need to be built at compile time so you’re required to tell Astro what all those possible values are. You can do that by implementing getStaticPaths in the component script which appears at the very top of an Astro component:
---
import BaseLayout from '../../layouts/BaseLayout.astro';
import ContentList from "../../components/label/ContentList.astro";
import { getPosts } from '../../utils/posts';

export const getStaticPaths = async () => {
    const allPosts = getPosts();
    const uniqueTags = [...new Set(allPosts.map((post) => post.frontmatter.tags).flat())];
    return uniqueTags.map((tag) => {
        const filteredPosts = allPosts.filter((post: any) => post.frontmatter.tags.includes(tag));
        return {
            params: { tag: tag.toLowerCase() },
            props: { contentItems: filteredPosts },
        };
    });
};

const { tag } = Astro.params;
const { contentItems } = Astro.props;
---

<BaseLayout>
    <h2>Tag: {tag}</h2>
    <ContentList items={contentItems} />
</BaseLayout>
This is a bit of a change to get your head around, but I love that by default any cleverness I decide to write into my site is processed at build time and adds no JavaScript to the client. That’s not to say you can’t run client side code - see Showing where I am below.
Showing where I am
Some things about my new site present a challenge to Astro’s static generation model, and they are all tied up with this bit of the homepage that I included intentionally because I thought doing this would be fun:

This is hard because:
- It includes my current location, which may change in between builds of the website
- It shows the current time in my current location, which changes every minute
- It renders a map of my current location using Leaflet, which is a client-side JavaScript library
So how do I do this with Astro?
First, let’s figure out the data pipeline. I’m using Home Assistant to track my location via their mobile app, which sets the value of an entity in my smart home server (on an 8 hour delay and to a very low precision, because I’m not an idiot). When that changes, Home Assistant sends an HTTP POST request to a “Val” that I run on ValTown, one of my favourite developer tools that allows you to run lightweight single-file scripts in the cloud, triggered by HTTP, cron, or other more exotic things. The Val exposes essentially a writable REST API for my location data.
Astro can read from that API during it’s build process, using component script:
const response = await fetch('https://andrews-location.web.val.run/current');
const locationData:LocationData = await response.json();
When the Val receives a new value for the location, it pokes Netlify to perform a build.
OK, so this gives us a reasonably up to date location which should automatically update if I move a significant distance. And that is infrequent enough that it’s OK to do that via a specially triggered build.
The current time is a different story. I could make a component for it, but it’s so simple that it feels like a good opportunity to show how component script and front end script can mix in the same file:
---
// This executes at build time
const response = await fetch('https://andrews-location.web.val.run/current');
const locationData:LocationData = await response.json();
---
<BaseLayout>
    <p>
        Local time: <span id="local-time" data-utc-offset={locationData.tz.utcOffset}></span>
    </p>
    <script>
        // This executes at runtime
        const updateTime = () => {
            const el = document.getElementById('local-time');
            const utcOffset = Number.parseInt(el.dataset.utcOffset);
            const clientLocalTime = new Date();
            const utcTime = clientLocalTime.getTime() + (clientLocalTime.getTimezoneOffset() * 60000);
            const andrewLocalTime = new Date(utcTime + (utcOffset * 60000));
            const andrewLocalTimeStr = String(andrewLocalTime.getHours()).padStart(2, '0') + ':' + String(andrewLocalTime.getMinutes()).padStart(2, '0');
            el.innerText = andrewLocalTimeStr;
        }
        setInterval(updateTime, 10000);
        updateTime();
    </script>
</BaseLayout>
Here the fetch in the code fence at the top runs at build time, whereas the updateTime function in the main body of the page runs in the browser.
Fine, but what about the map? For that, we need Leaflet’s client side library, which is quite sizable, and also a bunch of CSS. This calls for a component. But not an Astro component. A React component.
Since Astro renders all its components at build time, we need a component that renders at runtime. And Leaflet already has a React version. So I put a thin React component around it to specify the tile set I wanted and options for the map UI, and was then able to include it in my homepage like this:
<LeafletMap client:only="react" center={[locationData.pos.lat, locationData.pos.lng]} zoom={6} />The key bit here is client:only="react" which says that this element cannot be rendered at build time, (and in fact it means it can’t even be server-rendered in the event that you’re running Astro’s server runtime, which I am not). That’s fine, it’s just eye candy basically, and it won’t slow down the rest of the page.
Netlify hosting
Let’s talk about hosting. I’m done patching servers, provisioning my own certificates and paying DigitalOcean ~$12 a month (I think they’ve had over $2000 off me since I booted up that VM - terrifying). There are tonnes of good options these days that turn a repo of files into a website, and Netlify is the most popular and well known. I logged into Netlify, authed into GitHub, pointed it to my Astro repo and told it that the build output is in the /dist folder. Five minutes later, I had a live website.
OK, not bad, but my new website has different paths to my old one, so I need redirects. I feel like these mappings are ‘content’, in a way, and Netlify has a format for specifying redirects in source code. Sounds good. I made a file at /public/_redirects, which Astro will copy into /dist unmodified during the build, and Netlify will then see and use to do redirects on all my old URLs.
I did find that my luck with Netlify largely ran out at that point because I can’t easily control things like file-level caching rules or TLS for multiple custom domains, I can’t easily clean sensitive information out of the response headers, and it seems it doesn’t support HTTP/3.
Headers, routing and caching: Fastly
I used to work at Fastly, so I’m familiar with how to do all that with the Fastly platform - and they offer developer plans that are free for personal use. I have also been working in web performance for long enough that serving over HTTP/3 is a matter of self respect. Here’s what I have set up on a Fastly service:
- Custom domains
trib.tv,www.trib.tvandアンドリュー.コム(which is ‘andrew dot com’ in Japanese - try it!) - Automatic TLS certs for all those domains
- HTTP/3
- Backend hosts for my Netlify address and also the map tile provider (this allows me to serve the map tiles over H3 on a single consolidated domain)
- Caching rules that override Netlify’s defaults to recognise Astro’s ‘file hash’ format and mark hashed files as
immutableand forever cachable even in the browser. - Header logic that adds best practice security headers like
Referrer-Policyand removes unnecessary implementation details likeServerandX-Cache-Status.
That’s a wrap
And that’s it for my web journey so far. My first ever website was HTML pages edited in Notepad and uploaded via CuteFTP to the server space that you used to get with your ISP (in my case SAQnet - which I’m amazed and delighted to see is still a small business and still going). Then I discovered Wordpress, and started a 15 year diversion into the monolithic CMS.
In some ways, Astro, Netlify and Fastly are bringing me back to the world of flat HTML, and I’m very happy to be here. In other ways though, this is a thoroughly modern approach to web publishing, built on sophisticated tools, resulting in something easy to track and maintain, cheap to distribute, and incredibly fast to serve.
I hope this helps you if you’re thinking of replatforming your site and considering a static site generator. Let me know if you’d like more detail about how any of the build works, and I can make followup posts.